
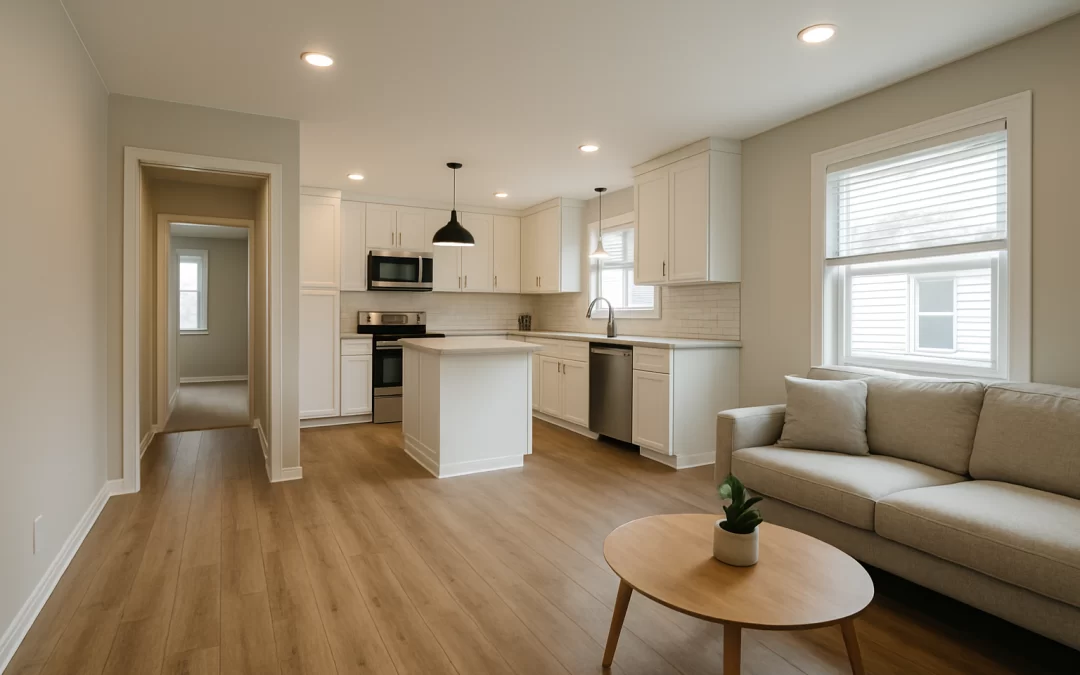
Home renovations on a budget are about choosing a few smart upgrades that improve comfort, style, and resale value without draining your savings. By focusing on energy efficiency, small cosmetic changes, and targeted repairs, many homeowners can save $30–$150 per month on utilities and avoid thousands in future repair costs. The tradeoff is that big “wow factor” remodels may need to wait, and some projects will require professional help to be safe and effective.
This guide is for homeowners and renters who want a nicer, more efficient home but can’t afford a full-scale remodel. Rising material and labor costs make it easy to overspend, especially on trendy upgrades that don’t pay off. Below you’ll find practical, low-risk improvements that stretch your budget and help you make better financial decisions about your home.
Table of Contents
- Causes of High Renovation Costs
- Common Overspending Behaviors
- What to Check First Before You Spend
- Immediate Savings: Low-Cost Upgrades with Fast Payback
- Long-Term Savings and High-Value Upgrades
- When Spending More Actually Saves You Money
- Common Costly Renovation Mistakes to Avoid
- When to Hire a Professional Instead of DIY
- Decision Guide: Do Now vs Later, DIY vs Pro
- Frequently Asked Questions
- Summary and Next Steps
Causes of High Renovation Costs
Understanding what drives renovation costs helps you control them. Many homeowners focus on finishes (like countertops and tile) but overlook hidden factors that quietly inflate the budget.
1. Labor and Scope Creep
Labor is often 30–60% of a renovation budget. Costs rise quickly when:
- You change the plan mid-project (“scope creep”).
- Contractors run into hidden problems (rot, wiring issues, plumbing leaks).
- Multiple trades (electrician, plumber, carpenter) are needed for one project.
Each change order or surprise can add hundreds or thousands of dollars.
2. Structural and “Behind-the-Walls” Issues
Projects that move walls, change plumbing locations, or alter electrical layouts are expensive because they require permits, inspections, and skilled labor. Examples include:
- Relocating a kitchen sink or shower.
- Removing load-bearing walls.
- Upgrading old electrical panels or wiring.
These can be worth doing for safety and function, but they are rarely “budget” projects.
3. Material Choices and Brand Premiums
High-end finishes can double or triple material costs with little added function. Costs rise when you choose:
- Custom cabinets instead of semi-custom or stock.
- Natural stone everywhere instead of mixing with more affordable materials.
- Designer fixtures where mid-range options perform just as well.
On a tight budget, it’s smarter to mix a few “hero” pieces with mostly mid-range materials.
Common Overspending Behaviors
Many people overspend not because they choose the wrong project, but because of how they plan and manage it. Recognizing these habits can save you thousands.
1. Starting Without a Clear Budget or Priority List
Jumping into renovations without a firm budget often leads to half-finished projects or expensive credit card debt. Overspending is common when:
- You “add just one more thing” repeatedly.
- You don’t rank projects by importance (safety, comfort, value).
- You don’t leave a 10–20% buffer for surprises.
2. Chasing Trends Instead of Needs
Trendy finishes and layouts can date quickly and don’t always add value. Overspending happens when you:
- Replace perfectly functional items just to match a trend.
- Choose unusual colors or styles that may turn off future buyers.
- Remodel a room that already works well while ignoring drafty windows or poor insulation.
3. Underestimating DIY Complexity
DIY can save 30–70% on labor, but only if the work is done correctly. Overspending occurs when:
- You start a project, then pay a pro to fix or finish it.
- Incorrect work causes damage (leaks, electrical issues, uneven floors).
- You buy tools you’ll rarely use again.
What to Check First Before You Spend
Before you pick paint colors or new countertops, check the basics that affect comfort, safety, and monthly costs. Fixing these first often gives the best return on a limited budget.
1. Drafts, Insulation, and Air Leaks
Heat loss and air leaks can waste 10–30% of your heating and cooling costs. Check:
- Drafts around windows and doors.
- Gaps around plumbing and wiring penetrations.
- Insulation levels in the attic and accessible walls.
Simple sealing and insulation upgrades can often save $15–$60 per month, especially in extreme climates.
2. Lighting and Old Bulbs
Old incandescent and halogen bulbs use far more electricity than LEDs. Walk through your home and note:
- High-use fixtures (kitchen, living room, exterior lights).
- Rooms where lights are left on for hours.
Switching these to LEDs is one of the fastest payback upgrades. For a deeper dive, see this guide on energy efficient lighting options and cost savings.
3. Water Use and Leaks
Small leaks and inefficient fixtures quietly raise your water and energy bills. Check for:
- Dripping faucets and running toilets.
- Old showerheads with very high flow rates.
- Water stains that might indicate hidden leaks.
Fixing leaks and upgrading fixtures can save $5–$30 per month on water and heating costs.
4. Safety and Code Issues
Before cosmetic upgrades, look for issues that could cause bigger expenses later:
- Old or overloaded electrical outlets and panels.
- Loose railings, broken steps, or trip hazards.
- Signs of moisture, mold, or wood rot.
Addressing these early prevents costly damage and protects your investment.
Immediate Savings: Low-Cost Upgrades with Fast Payback
These projects are ideal for tight budgets. They cost relatively little, improve comfort and appearance, and often pay for themselves within months to a few years.
1. Switch to LED Lighting
- Upfront cost: $2–$8 per bulb; $40–$150 to replace most bulbs in a typical home.
- Monthly savings: $5–$25 depending on usage and local rates.
- Payback period: 3–18 months.
LEDs use up to 80% less energy and last much longer than incandescent bulbs. Focus first on high-use fixtures and outdoor lights that stay on for long periods. For outdoor options and installation tips, see this guide on energy efficient outdoor lighting.
2. Weatherstripping and Caulking
- Upfront cost: $20–$100 for weatherstripping, caulk, and basic tools.
- Monthly savings: $10–$40 on heating and cooling in many climates.
- Payback period: 1–12 months.
Sealing gaps around doors, windows, and baseboards reduces drafts and makes rooms feel more comfortable at the same thermostat setting. This is a beginner-friendly DIY project with a strong return on investment.
3. Low-Flow Showerheads and Faucet Aerators
- Upfront cost: $10–$60 per fixture.
- Monthly savings: $5–$20 on water and water heating.
- Payback period: 2–12 months.
Modern low-flow fixtures maintain good water pressure while using less water. They are easy to install and can significantly cut utility bills in larger households.
4. Smart Power Strips and Basic Energy Habits
- Upfront cost: $20–$40 per smart strip; $40–$120 for several.
- Monthly savings: $3–$15 by reducing “phantom” power use.
- Payback period: 6–24 months.
Electronics and chargers draw power even when off. Smart power strips and simply unplugging rarely used devices can trim your electric bill with almost no downside.
Long-Term Savings and High-Value Upgrades
These projects require more money upfront but can significantly improve comfort and home value. They make sense when you plan to stay in the home for several years.
1. Insulation and Air Sealing
- Upfront cost: $500–$3,000+ depending on home size and areas treated.
- Monthly savings: $20–$80 on heating and cooling.
- Payback period: 3–10 years, often shorter in extreme climates.
Improving attic and wall insulation reduces energy waste and makes temperatures more stable. Fiberglass is a common option; for cost and safety considerations, see this overview of fiberglass insulation costs and risks. In many regions, utility rebates can shorten the payback period.
2. Efficient Heating and Cooling Equipment
- Upfront cost: $3,000–$10,000+ for a new furnace, AC, or heat pump.
- Monthly savings: $20–$100 compared to very old or inefficient systems.
- Payback period: 7–15 years, depending on usage and energy prices.
Replacing a failing or very old system with a high-efficiency unit can cut energy bills and reduce repair costs. This is rarely a “budget” project, but it can be a smart long-term move if your current system is near the end of its life.
3. Kitchen and Bathroom Refresh (Not Full Remodel)
- Upfront cost: $500–$7,000+ depending on scope.
- Monthly savings: Usually small direct savings; main value is resale and reduced maintenance.
- Payback period: Often realized at resale; minor remodels can recoup 60–80% of cost in many markets.
On a budget, focus on:
- Painting cabinets instead of replacing them.
- Updating hardware, faucets, and lighting.
- Replacing worn countertops with durable mid-range materials.
These changes modernize the space without the cost of moving plumbing or walls.
4. Flooring Upgrades in Key Areas
- Upfront cost: $1,000–$5,000+ depending on material and area size.
- Monthly savings: Minimal direct savings; value is in durability, easier cleaning, and resale appeal.
- Payback period: Long-term, often realized at resale or through reduced replacement frequency.
Replacing worn carpet or damaged flooring in main living areas can make a home feel newer and cleaner. Choose durable, easy-to-maintain materials over trendy but fragile options.
When Spending More Actually Saves You Money
Sometimes the cheapest option costs more in the long run. Knowing when to invest a bit more can prevent repeated repairs and early replacements.
1. Quality Over the Absolute Lowest Price
It often pays to avoid the very cheapest materials and labor. Spending slightly more can be smarter when:
- Cheaper flooring or fixtures are known to wear out quickly.
- A contractor’s quote is far below others and lacks clear details.
- Warranty and support are better with a mid-range product.
Paying 10–20% more upfront can double the lifespan of some items, saving you from redoing the same project in a few years.
2. Fixing the Cause, Not Just the Symptom
Cosmetic fixes are tempting but can hide bigger problems. It’s worth spending more when:
- You repair water damage but don’t fix the leak.
- You repaint over mold or stains without addressing moisture.
- You patch cracks without checking for structural movement.
Addressing root causes may cost more now but can prevent thousands in future repairs.
3. Safety-Critical Systems
Electrical, gas, and structural work should be done correctly the first time. Spending more on qualified professionals and proper materials helps you avoid:
- Fire hazards from improper wiring.
- Gas leaks or carbon monoxide risks.
- Structural failures from incorrect framing or support.
Common Costly Renovation Mistakes to Avoid
Avoiding a few frequent errors can protect your budget and your home’s value.
1. Skipping Permits and Inspections
Working without required permits can lead to fines, forced tear-outs, and problems when selling. It’s a mistake to:
- Assume small projects never need permits.
- Rely only on a contractor’s word; check local rules yourself.
- Ignore inspection requirements for major electrical or structural work.
2. Over-Customizing for Your Taste
Highly personalized designs can limit your home’s appeal and resale value. Costly examples include:
- Very bold tile or built-ins that are hard to change.
- Removing closets or bedrooms to create large specialty spaces.
- Unusual layouts that don’t suit most families.
3. Under-Budgeting for Contingencies
Hidden issues are common in older homes. A good rule is to:
- Set aside 10–20% of your project budget for surprises.
- Expect more contingencies with bathrooms, kitchens, and basements.
- Pause and reassess if surprises start to pile up.
4. Poor Planning and Sequencing
Doing projects in the wrong order wastes time and money. For example:
- Painting before replacing windows or trim.
- Installing new flooring before fixing subfloor issues.
- Upgrading finishes before addressing leaks or insulation.
For more on planning and avoiding missteps, see this guide to home renovation DIY planning and budgeting.
When to Hire a Professional Instead of DIY
DIY can be a powerful way to stretch your renovation budget, but it’s not always the safest or most cost-effective choice.
1. Projects Best Left to Professionals
Hire a licensed pro for:
- Electrical work beyond simple fixture swaps.
- Gas lines, furnaces, and major HVAC changes.
- Structural changes, such as removing or altering load-bearing walls.
- Roofing and major exterior envelope repairs.
Mistakes in these areas can be dangerous and extremely expensive to fix.
2. When DIY Makes Sense
DIY is often a good option for:
- Painting walls and trim.
- Installing simple shelving and storage solutions.
- Replacing faucets, showerheads, and basic hardware (with proper instructions).
- Caulking, weatherstripping, and basic insulation in accessible areas.
Start with small projects to build skills before tackling anything complex.
3. Evaluating Your Skills and Time
Before deciding, ask yourself:
- Do I have the tools and time to do this safely and correctly?
- What happens if I make a mistake?
- Will a poor result hurt my home’s value or cause damage?
If the risk is high, paying a professional can be the more economical choice.
Decision Guide: Do Now vs Later, DIY vs Pro
Use this simple framework to decide how and when to tackle each renovation project.
1. Do Now vs Do Later
Do now if the project:
- Improves safety (electrical hazards, leaks, structural issues).
- Stops ongoing damage (water intrusion, rot, pests).
- Has a fast payback (LEDs, weatherstripping, fixing leaks).
Do later if the project:
- Is purely cosmetic and your budget is tight.
- Requires saving up to avoid high-interest debt.
- Depends on other work being done first (like moving walls before new flooring).
- You need an immediate improvement on a very small budget.
- You’re unsure how long you’ll stay in the home.
- The underlying system is due for full replacement soon.
- You plan to stay at least 5–10 years.
- The upgrade significantly reduces bills or maintenance.
- It clearly improves resale value in your local market.
- The project is simple, low-risk, and well-documented.
- You can practice on a small area first.
- Errors are easy and inexpensive to fix.
- Permits, inspections, or specialized tools are required.
- There are safety risks (electricity, gas, structural work).
- The finish quality will strongly affect resale value.
- You need a temporary solution until you can afford a full upgrade.
- The item is not critical to safety or major function.
- You’re preparing a rental or short-term home.
- Replacing the item is disruptive (flooring, major fixtures).
- You want to avoid frequent repairs or replacements.
- The upgrade will clearly improve comfort and daily use.
2. Quick Fix vs Long-Term Investment
Choose a quick fix when:
Choose a long-term investment when:
3. DIY vs Professional
Lean toward DIY when:
Lean toward a professional when:
4. Cheap Fix vs Quality Upgrade
Choose the cheap fix when:
Choose the quality upgrade when:
Frequently Asked Questions
What are the best low-cost renovations to do first on a tight budget?
Start with projects that cut monthly bills and improve comfort: LED lighting, weatherstripping, fixing leaks, and installing low-flow showerheads. These typically cost under a few hundred dollars and can save $20–$80 per month combined, often paying for themselves within a year.
How much should I budget for unexpected renovation costs?
Plan for at least 10–20% of your total project budget as a contingency. Older homes, bathrooms, and kitchens are more likely to hide surprises, so lean toward the higher end for those projects to avoid financial stress mid-renovation.
Which renovations add the most value when I sell my home?
Buyers usually value updated kitchens and bathrooms, good flooring, and efficient heating and cooling. However, minor, well-planned updates (paint, lighting, hardware, and small repairs) often deliver a better return than full luxury remodels on a limited budget.
Is it worth taking on debt for home renovations?
It can be reasonable for essential repairs or major efficiency upgrades with clear long-term savings, especially with low-interest financing. Avoid high-interest credit cards for purely cosmetic projects; it’s usually better to save up and do smaller, high-impact improvements first.
How do I know if a renovation is worth the cost?
Consider three factors: monthly savings (energy, water, maintenance), impact on comfort and daily life, and likely resale value in your area. If a project doesn’t meaningfully improve at least one of these, it may not be worth the cost right now.
Can small cosmetic changes really make a difference?
Yes. Fresh paint, updated lighting, new hardware, and simple landscaping can dramatically improve how a home feels and looks for a relatively low cost. While they may not slash utility bills, they can boost satisfaction and perceived value without major spending.
Summary and Next Steps
Smart home renovations on a budget focus on safety, efficiency, and targeted cosmetic upgrades. Low-cost projects like LED lighting, weatherstripping, and fixing leaks can save $20–$80 per month, while larger investments in insulation or efficient systems can pay off over several years and increase home value.
Before spending, inspect for drafts, leaks, and safety issues, then prioritize projects with the best mix of comfort, savings, and resale impact. Decide carefully between DIY and professional help, and avoid common pitfalls like scope creep and over-customizing. Start with one or two high-impact, affordable upgrades this month, track your costs and savings, and use that momentum to plan your next round of improvements without overspending.